SELF driving Car - Part 1
Self driving cars are cool - reason enough to build one!
Well okay not a real one, but at least not a boring simulator. Some (10) years ago I was completely into RC cars, planes and helicopters, everything that could be remote controlled had to be controlled by me. And so a month ago I found my old car under by bed and since I am now more into computers (and okay I have lost the RC receiver) I though I could give it a try to pack a raspberry on to of it and make it a sef driving car. Now, one month or so later, there was progress! I can control the servos and motor with my raspberry, I have a basic function to turn 2D picture corrdinates into 3D ones and I have some approach to detect cups, which will be my waymarkers. In this article I like to show a bit of the shuff I have done so far.
The Car
Of course I have some pictures, so I like to show you my car and whats in it (lol, sounds like one of these ‘whats in my bag’ videos…).
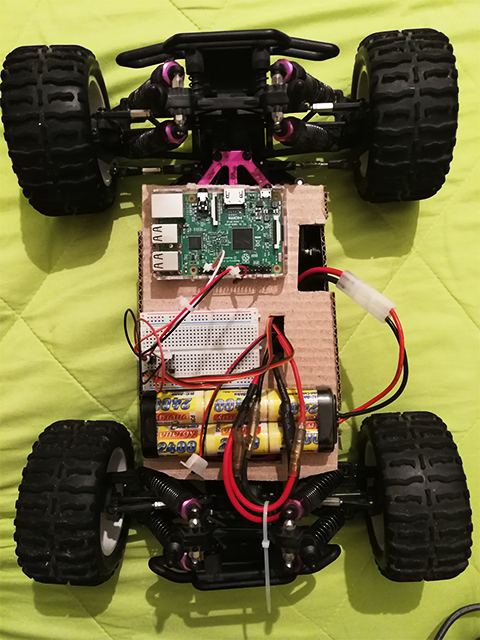
Here you can see my car, since I dont remember its name, I tried googling it. It seems to be a ‘Reely Monstertruck Ignitor’, at least the brand ‘Reely’ is correct. There is nothing special in it so far. You can also see my ‘Raspberry Pi 3 B’ on top of my card board platform. This other white thing is just a board to connect the electronic components more easily.
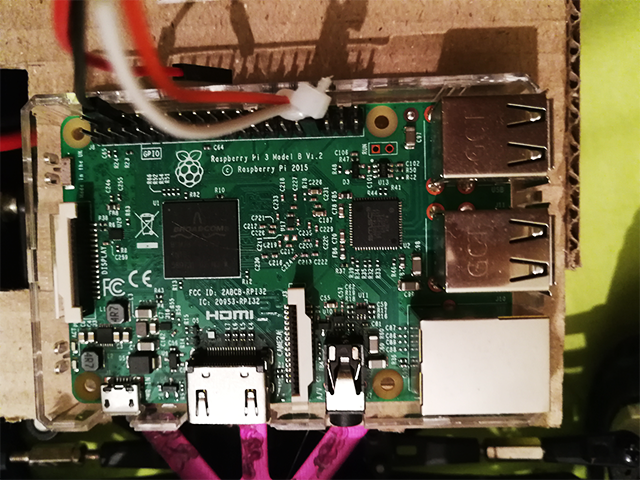 This is my PI, just a normal Raspberry PI 3 B. I hope it has enough power to compute all the stuff needed…
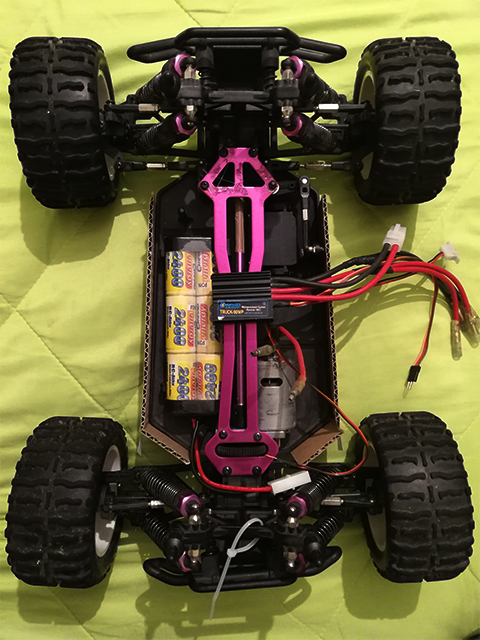
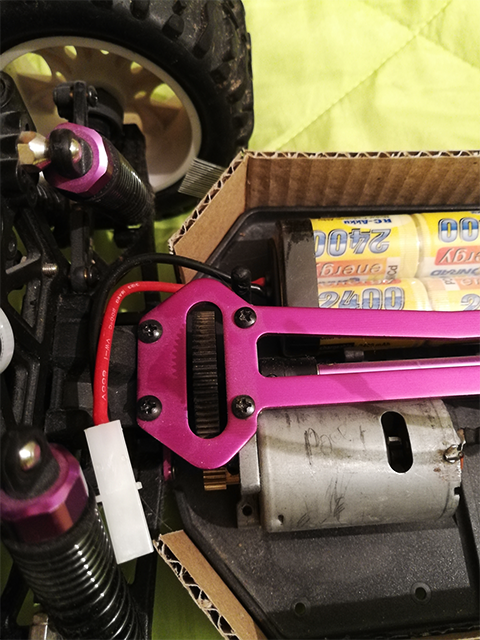
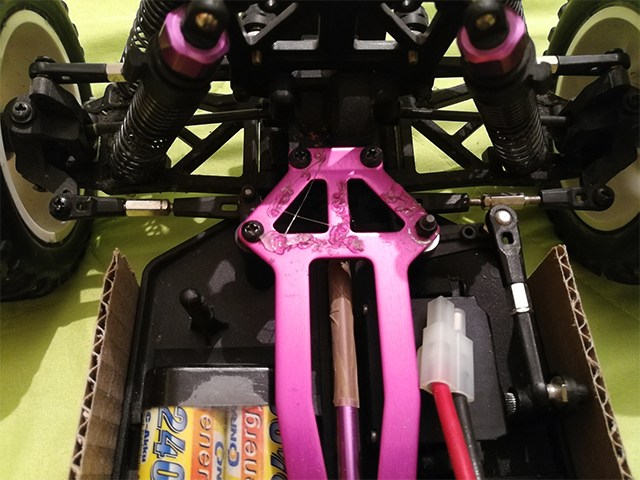
This is inside the card board box and thus below the Raspberry. You can see the motor controller (this thing whith the many cabels comming out), the motor and the servo for steering. Those are all old components from 10 years ago, but I can tell you, the ‘TRUCK-90WP’ motor controller was literaly ‘the shit’! Both of them are controllable using PWM (pulse width modulation) which can simple be done using the raspberry.
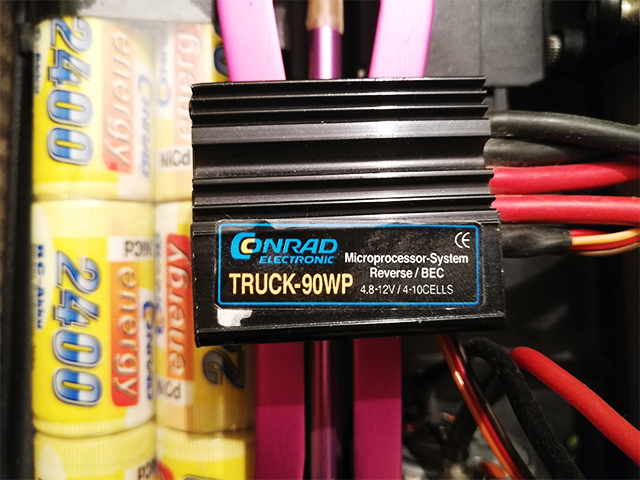 This is the TRUCK-90-WP motor controller.
The following is one of my brilliant solution regarding holding my camera. I can put the camera into the card board on top of this special looking contruction. Currently I use my phone camera but I will buy another one.
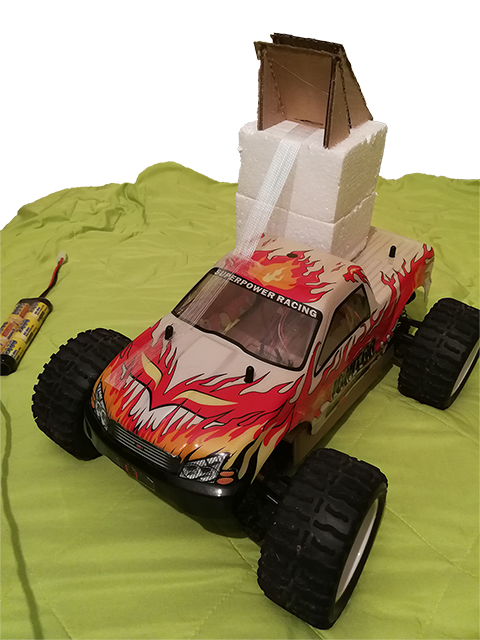 This is my camera holder.
Here are two more images from my car, the upper one shows the motor and the lower one the sterring.
Conclusion
Sorry, I never (… I know it is just the second one) have the condition to write a big article, so I think its best to come to an end here and release this one today than spend a whole week writing one long article. I try to write another article about my 2D to 3D transformation and the detection of cups.
Thank you for reading!